Setting up Google reCAPTCHA Keys:
To have the google reCAPTCHA in your login screen, follow the steps given below.
- Step 1: Open your browser and visit the Google reCAPTCHA website –
- https://www.google.com/recaptcha/admin/create
- Step 2: Log in the website using your Google account details.
- Step 3: Register a new site.
- Step 3.1: Click the ‘+’ button at the top right corner to add a new site.
- Step 3.2: A wizard will be displayed to complete the necessary details. Fill in the correct details.
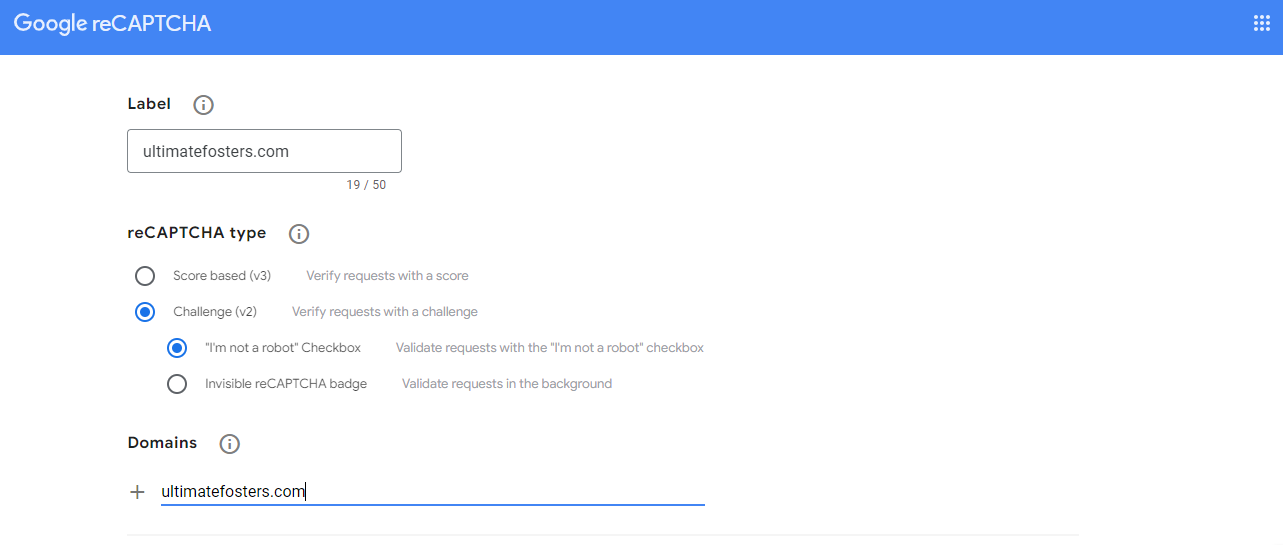
- Step 4:Fill in the details as mentioned below. Refer to the screenshot added below.
- Label: Enter a label to identify your site (e.g., your domain name and a note).
- Type of reCAPTCHA: Select reCAPTCHA v2.Make sure to choose the appropriate type, such as “I’m not a robot”.
- Domains: Enter your site’s domain name (e.g., example.com). If you have multiple domains, add them all.
- Owners: The current email will be added by default. You can add more email addresses if needed.
- Step 5: Accept the Terms of Service check box.
- Step 6: Click the Submit button.
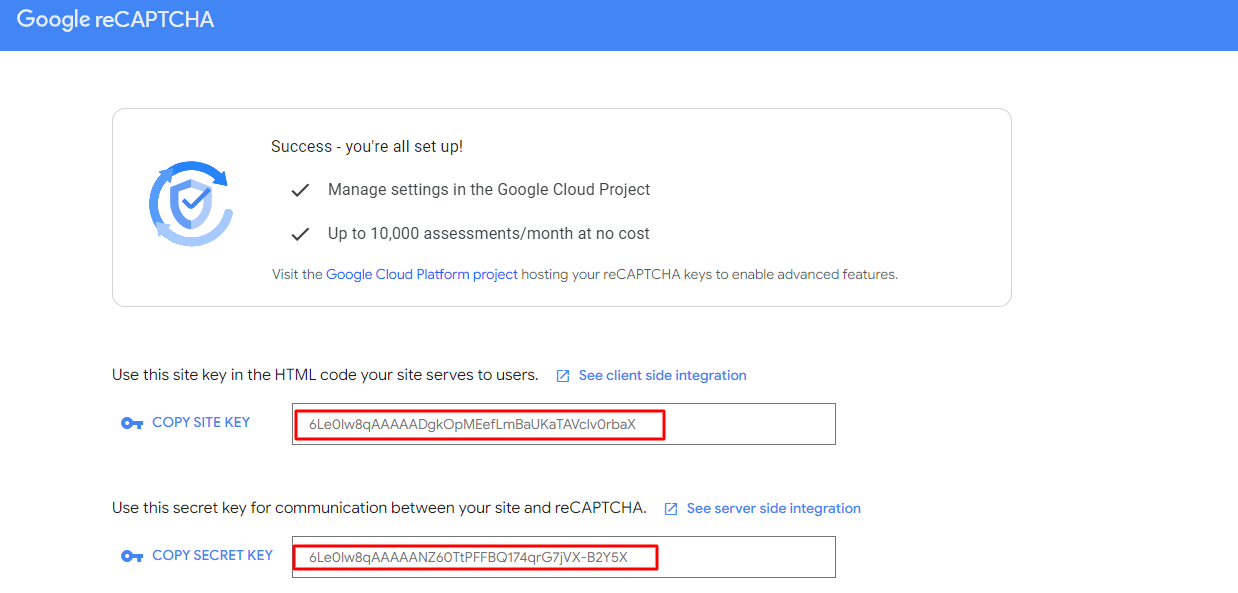
- Step 7: The site key and secret key will be generated. Copy these keys and use them in your application.
- Step 8: Add these variables in your .env file as mentioned below.
- ENABLE_RECAPTCHA=true
- GOOGLE_RECAPTCHA_KEY=your_site_key_here
- GOOGLE_RECAPTCHA_SECRET=your_secret_key_here
For Superadmin Module Users
NOTE: If you are using superadmin module, update the values for these variables(GOOGLE_RECAPTCHA_KEY, GOOGLE_RECAPTCHA_SECRET) in the Superadmin Settings > Application Settings