1. To enable expiry go to Settings -> Business Settings -> Product section. And check the “Enable Product Expiry” checkbox.
2. On enabling Product expiry, you can choose either “Add Item Expiry” or “Add manufacturing date & Expiry Period”
“Add manufacturing date & Expiry date” => Choose this option if you want to add the manufacturing date of the item and the expiry period. Based on the manufacturing date and expiry period it will auto-calculate the expiry date. And this expiry date can be edited. You will have to add expiry period for the product in the “Add or Edit Product” screen. And the manufacturing date in the “Add Purchase” screen.
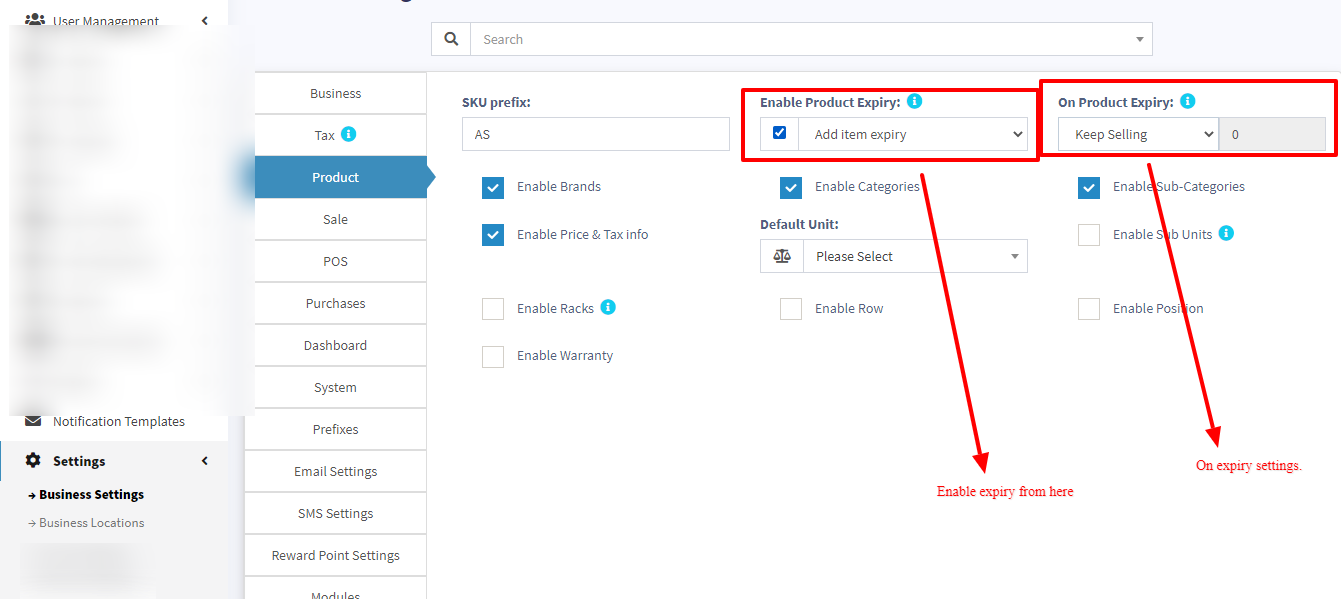
3. On Product Expiry” =>With this option you can set what the system should do when a product expired.
4. “Stock Accounting Method” => This feature is used to set the way the product should be sold.
For an Example:
1. Purchase 20 pcs of product A on 20 March 2018. Expiry date 10 April 2018
2. Purchase 20 pcs of the same product A on 23 March 2018. Expiry date 8 April 2018
3. Today I sold 22 pcs.
If the “Stock Accounting Method” is FIFO => Then the Product purchased on 20 March 2018 will be deduced with 20 pcs
and after that product purchase on 23 March 2018 will be deduced with 2 pcs.
So in stock, we will have products from 23 March 2018 with 18 pcs.
If the “Stock Accounting Method” is LIFO => The opposite of the above will happen.
1. Go to Reports => Stock Expiry Reports.
2. Here you can filter stock “Category”, Brands, “Stock expiry date”
3. Click on “Edit” to modify the stock left and expiry period.
4. If stock left is decreased the unit purchase price is adjusted accordingly.
1. Make sure the product expiry feature is enabled as mentioned above.
2. Go to invoice layout and enable “Show Product expiry”
3. If the product expiry date is added when adding Purchase or Opening stock then when making sales it will display the product expiry dropdown. Select the expiry date which you want to sell. Then in the print invoice, it will show the expiry date.

